
Snake Plant Propagation: 3 Ways to Grow New Plants
A single Snake Plant can become several new ones without buying anything extra. This guide covers the three common propagation methods, how they differ, what you’ll need for each, and which one to choose depending on what you want the result to look like.
What You’ll Need
- A clean, sharp knife or pair of pruning shears (clean the blade with rubbing alcohol before cutting to avoid spreading disease)
- A small glass or jar for water propagation, or a small pot with drainage for soil propagation
- A well-draining potting mix, such as a cactus or succulent blend
- Optional: rooting hormone powder, which can speed up root development but isn’t required for this plant
Method 1: Division (Fastest and Most Reliable)
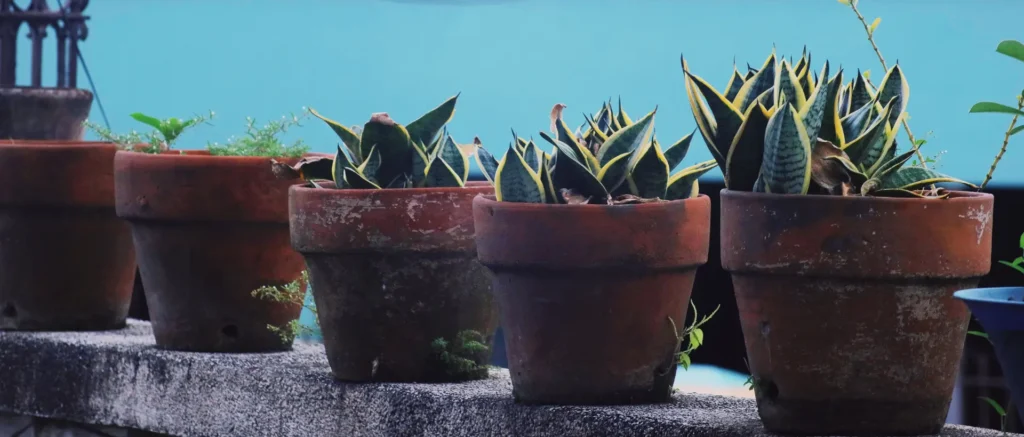
Division means separating an existing plant into two or more sections, each with its own roots attached, rather than growing new roots from scratch. Remove the plant from its pot, gently loosen the soil, and look for natural separations in the rhizome (the thick underground stem). Use a clean knife to divide the plant into sections, making sure each section has at least a few leaves and healthy roots attached, then pot each section separately. Because each division already has an established root system, this method produces a full-looking plant much faster than cuttings, and it keeps any leaf variegation intact.
Method 2: Leaf Cuttings in Water
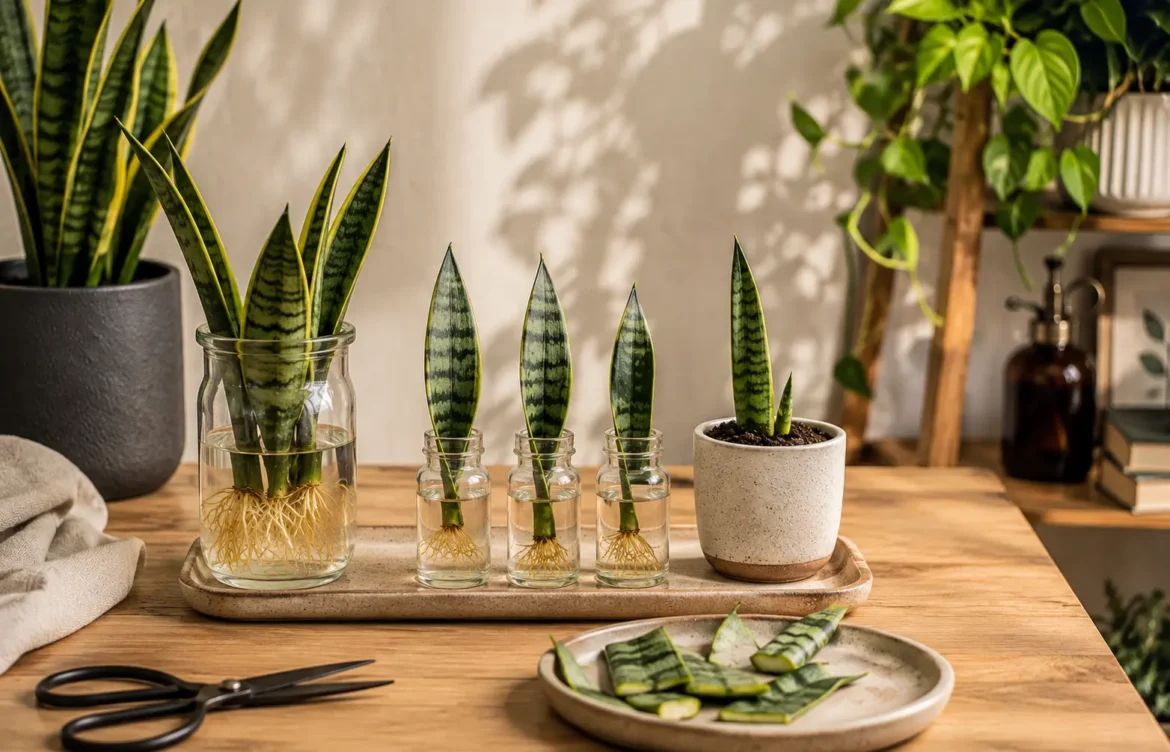
Cut a healthy leaf near the base and place the cut end in a few inches of water, changing the water every week or so. Roots typically begin forming within several weeks, and once roots are a couple of inches long, the cutting can be moved into soil. This method is easy to monitor since you can see the roots developing, but it’s worth knowing that cuttings from variegated varieties, like Laurentii, often grow back as solid green rather than keeping the yellow-edged pattern.
Method 3: Leaf Cuttings in Soil
Cut a leaf into a few sections, each a few inches long, and let the cut ends dry out for a day before planting them upright in slightly moist, well-draining soil. This method skips the water stage entirely and tends to produce a slightly sturdier root system, though it takes longer before you can visually confirm rooting has started, since the cutting is hidden in soil.

Aftercare for New Cuttings and Divisions
Keep new cuttings and divisions in bright, indirect light, out of direct sun, while they establish roots. Water sparingly during this period; soil that’s too wet is more likely to cause a fresh cutting to rot than help it root faster. For water propagation, change the water weekly to keep it fresh and reduce the chance of rot developing at the cut end. Once a division or cutting is showing steady new growth, typically after a couple of months, it can be treated like a regular established plant and moved onto a normal watering schedule.
How to Tell if a Cutting Has Failed
A cutting that’s failing usually turns soft, dark, or mushy at the cut end, sometimes with a noticeable smell, rather than simply taking a long time to root. A slow-rooting but otherwise firm, healthy-looking cutting just needs more patience. If a water cutting develops a slimy or discolored stem, remove it, trim off the affected section if any healthy tissue remains, and start again with fresh water.
Which Method Should You Choose?
- Want a full-looking plant quickly, or want to keep variegated coloring — use division.
- Want to watch the process and don’t mind if variegation is lost — use water cuttings.
- Have a single leaf to work with and want a sturdier root system — use soil cuttings.
Common Propagation Mistakes
- Planting a cutting upside down — cuttings generally won’t root if planted with the wrong end down, so mark or remember which end was closer to the base.
- Overwatering new cuttings — a cutting without roots yet can’t take up much water, and soil that’s too wet increases the risk of rot before roots even form.
- Using a dull or dirty blade — a clean cut heals faster and lowers the risk of introducing bacteria or fungus into the cutting.
FAQs
How long does it take for a Snake Plant cutting to grow roots?
Water cuttings typically show visible roots within 3 to 6 weeks, though this varies with light and room temperature. Soil cuttings root in a similar timeframe, but since the roots are underground, the easiest way to check is a gentle, light tug — resistance means roots have formed.
Why did my variegated Snake Plant cutting grow back as plain green?
This is a known and normal outcome for varieties like Laurentii when propagated from a leaf cutting, especially in water. The yellow edge is caused by a genetic pattern that isn’t reliably passed on through leaf cuttings, but it is preserved through division, since division keeps the original genetic material intact rather than growing a new plant from scratch.
Can I propagate from just a small piece of leaf, or do I need the whole leaf?
A section of leaf a few inches long is enough — you don’t need the entire leaf. Just make sure you keep track of which end was originally closer to the base of the plant and plant that end down, since a cutting placed upside down generally will not root.
Is there a best time of year to propagate a Snake Plant?
Spring and summer give the fastest results, since the plant is naturally more active during warmer months with longer daylight. Propagation attempted in winter is not impossible, but it typically takes noticeably longer.
Do cuttings need bright light to root successfully?
Bright, indirect light speeds up rooting, but direct sun should be avoided, since it can stress or scorch a cutting that doesn’t yet have roots to support itself. A spot with good indirect light is the safer choice while roots are developing.
Read More Articles:
Snake Plant Yellow Leaves: Causes, Solutions, and How to Restore Healthy Green Growth
Snake Plant Watering Guide: How Often to Water a Snake Plant for Healthy Growth